CTRL+P - Smartifying an old thermal printer
Introduction
A while ago I stumbled across this post from zacs on reddit. Someone build a Home Assistant component to talk to his $65 Epson TS-T88V thermal printer! Of course, I was immediately hooked by the idea. But $65? I don’t want to spend that much, so I looked around kleinanzeigen a popular german platform for selling your used stuff. After a little bit of searching I was able to pick up this beauty from 2005 for just €20:
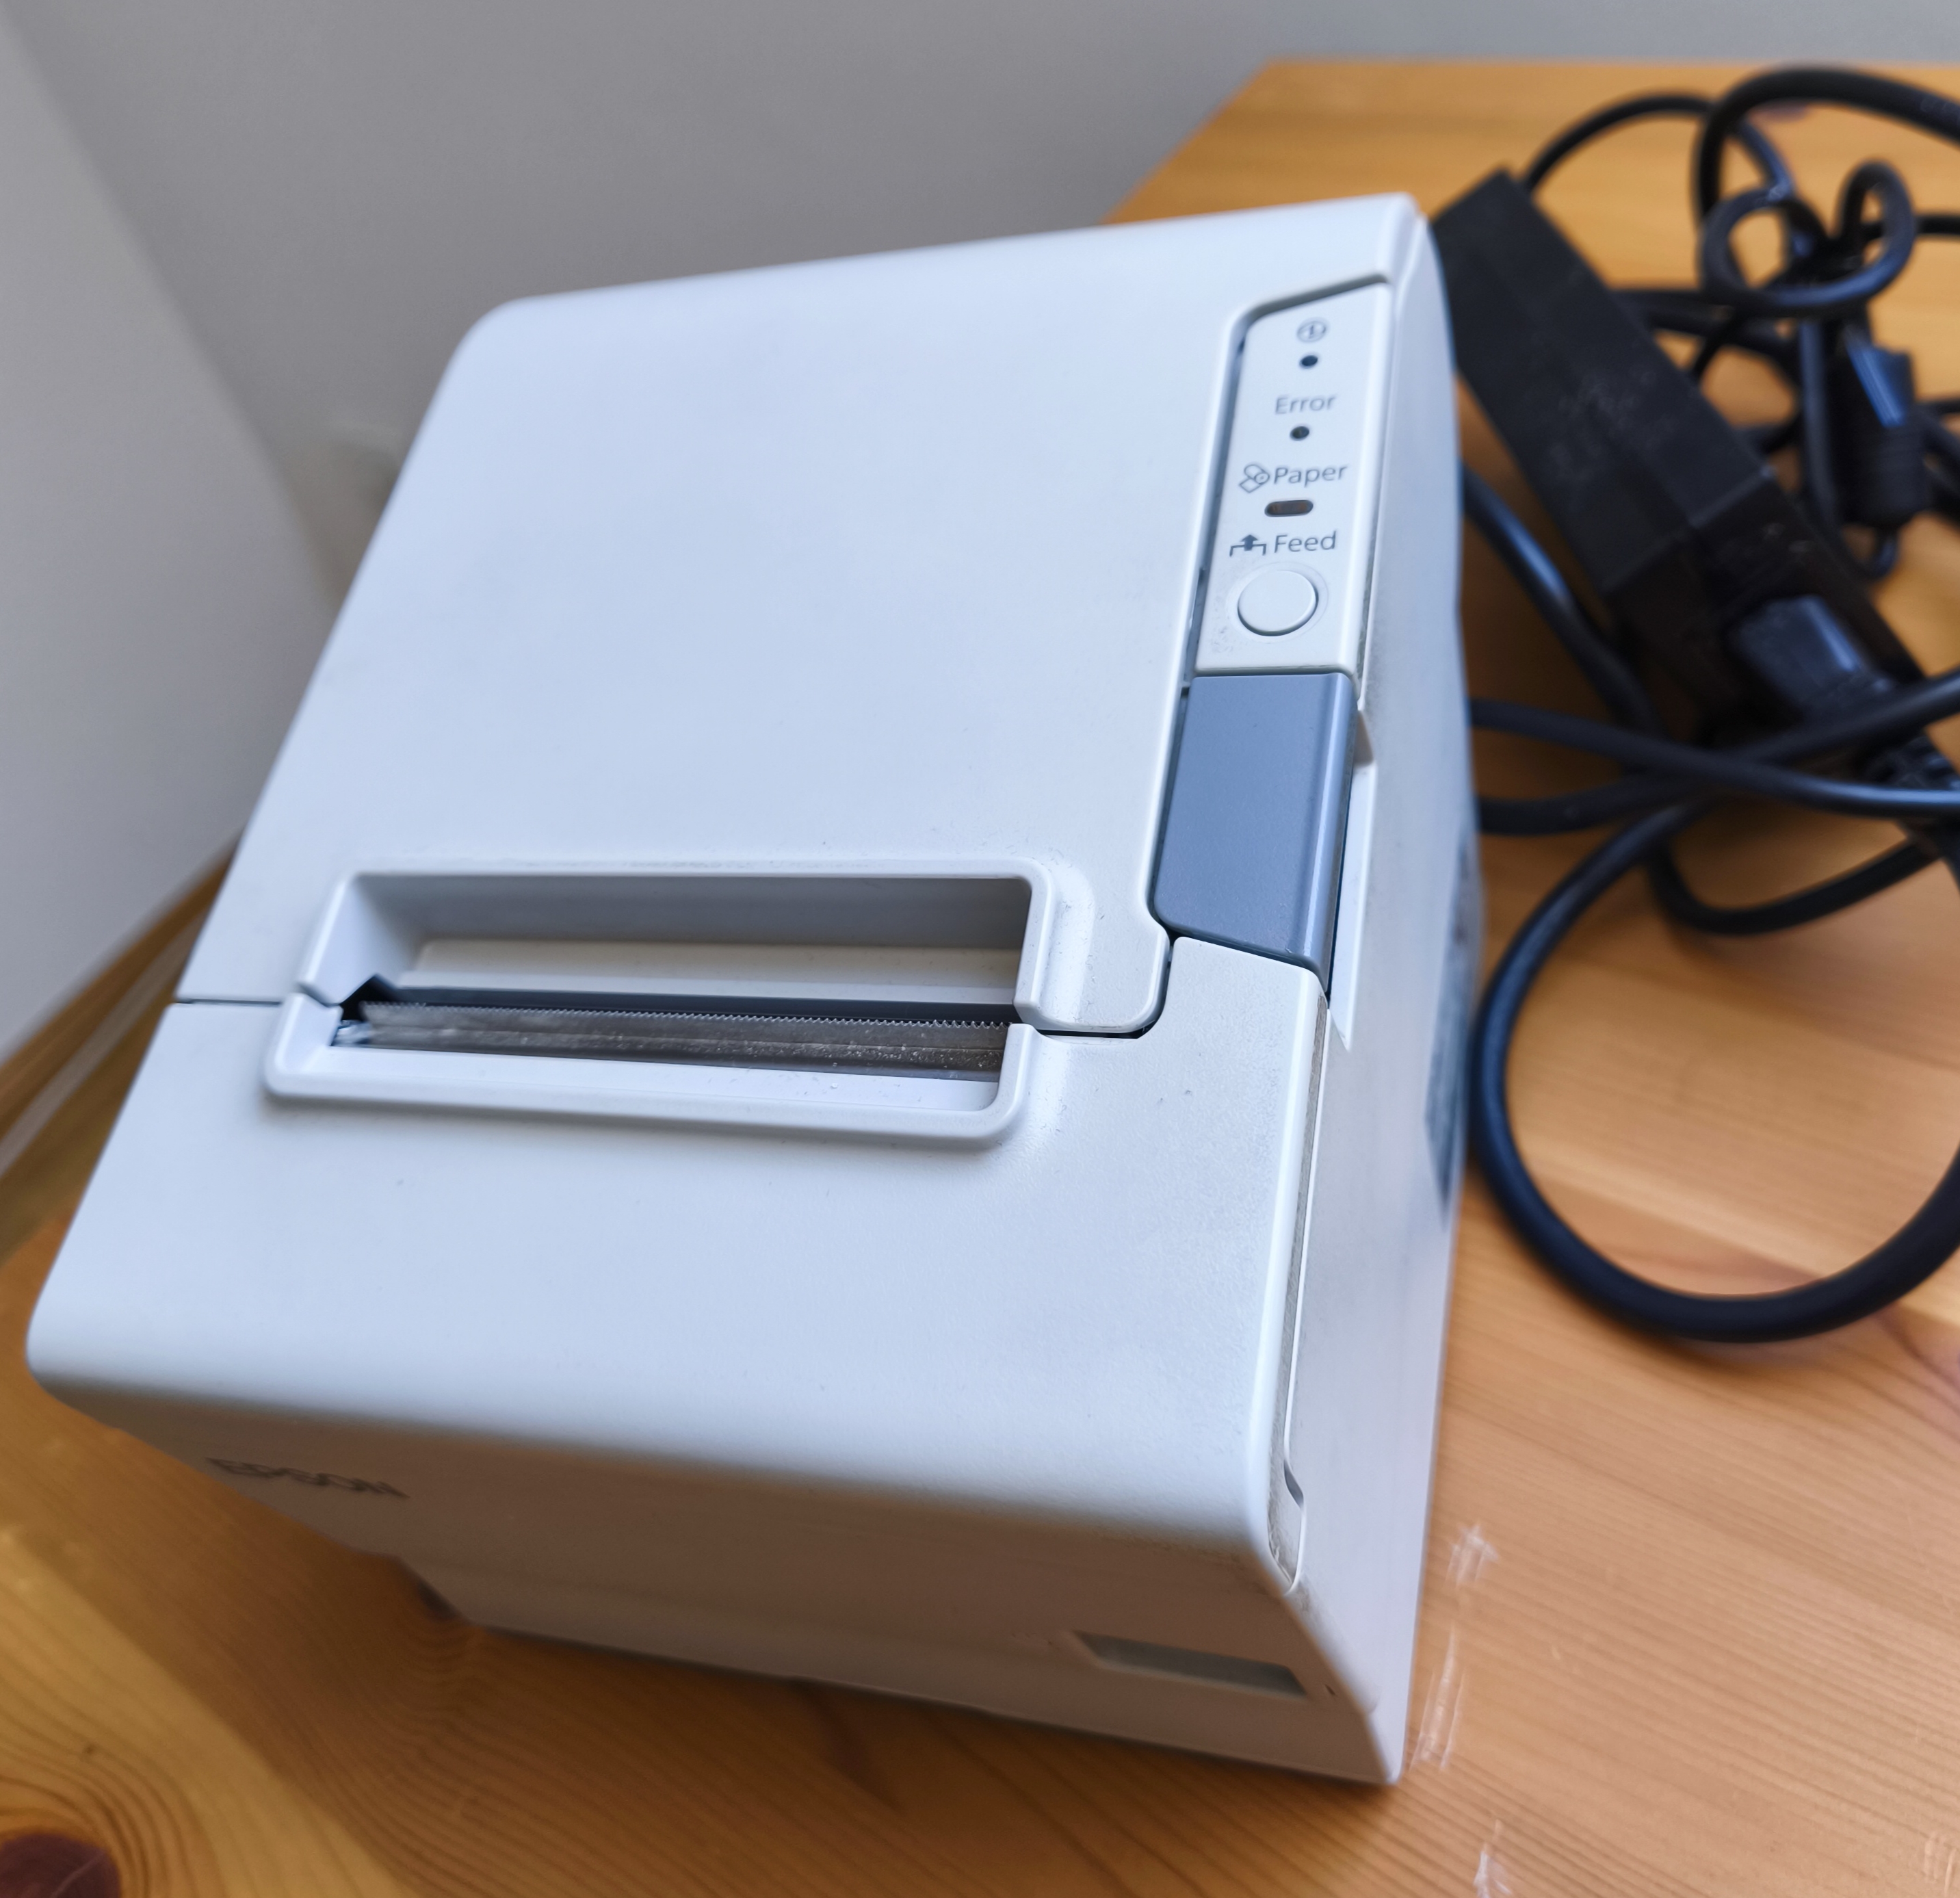 Epson TM-T88V Thermal Printer
But wait, zacs used a printer with networking capabilities but mine only has these weird connectors on the back:
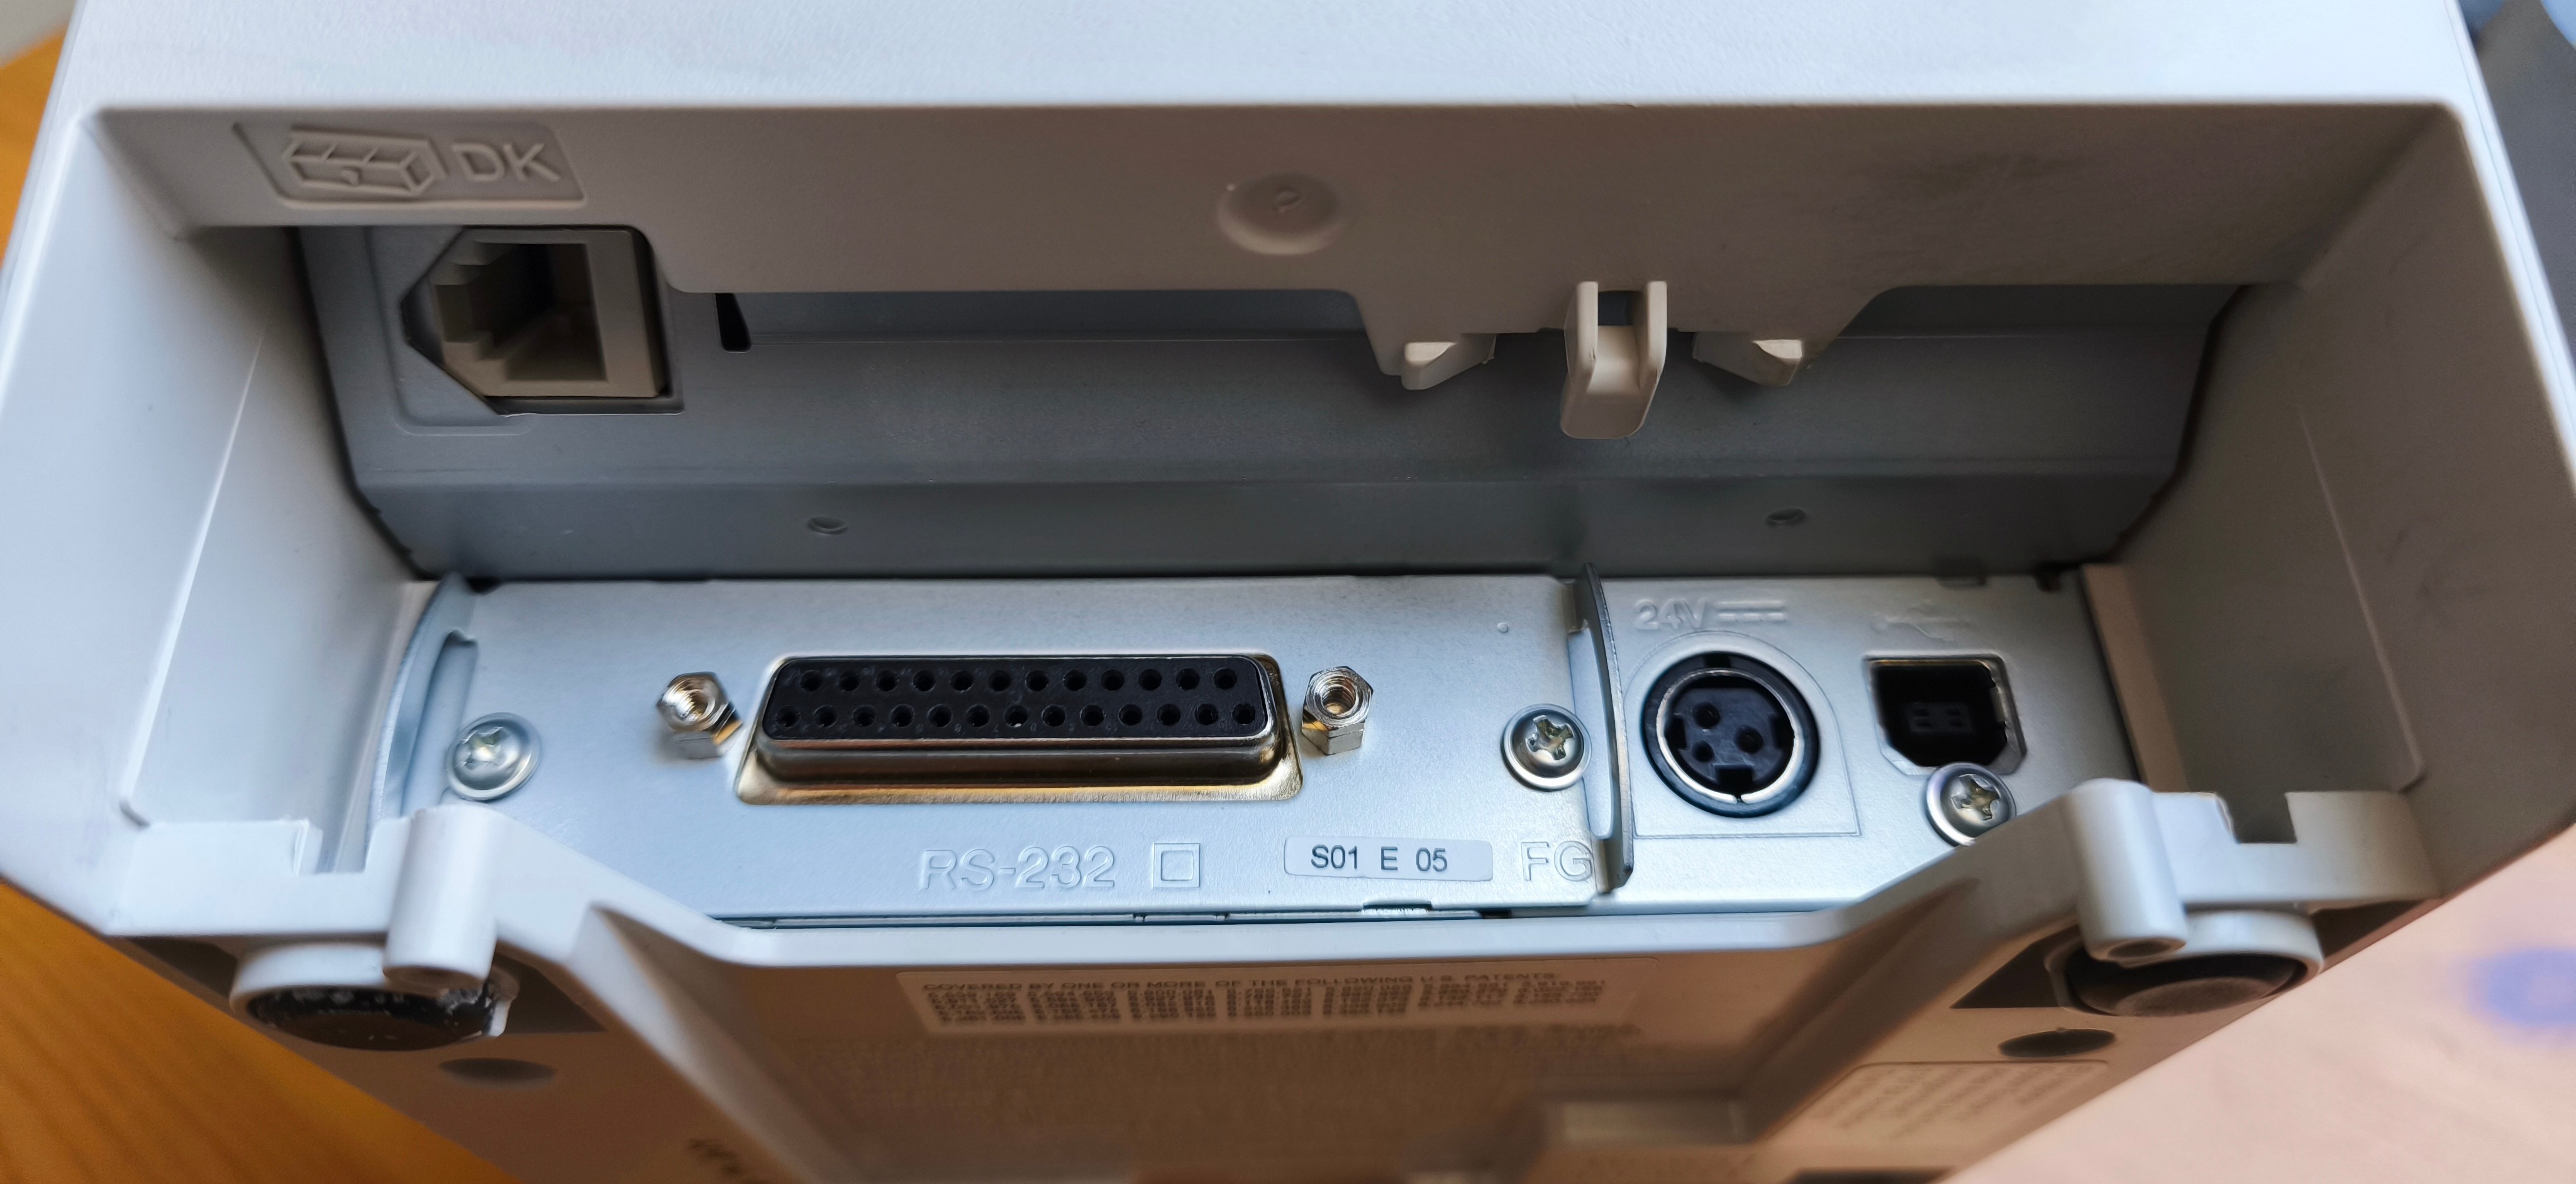 Thats not ethernet
What did I buy?
But thats fine! Of course I knew what I was looking for before I bought a thermal printer. The Epson TM-T88V is old, cheap and has no networking capabilities, because it is designed to be used over USB or RS-232 serial. I knew I could not use the component presented in the reddit post, I had to came up with my own method of talking to that printer.
Talking to the printer
The first obvious solution is USB. Thats also what I used to at least test this thing. So I went to the Epson website, installed the tools and driver (which are still available in 2026) and my printer came to life. But I want to use this printer with Home Assistant. And it will be placed far away from the Raspberry Pi I use. Running a USB cable through my entire apartment? That’s not really a solution. So it needs some wireless communication!
Smartifying a thermal printer
Because I wanted to keep the costs down of the project, I wanted to use an ESP32 board. These are cheap, have WiFi and Bluetooth and are fairly easy to work with. In the end I used a Wemos Lolin D1 mini, because this what I had lying around:
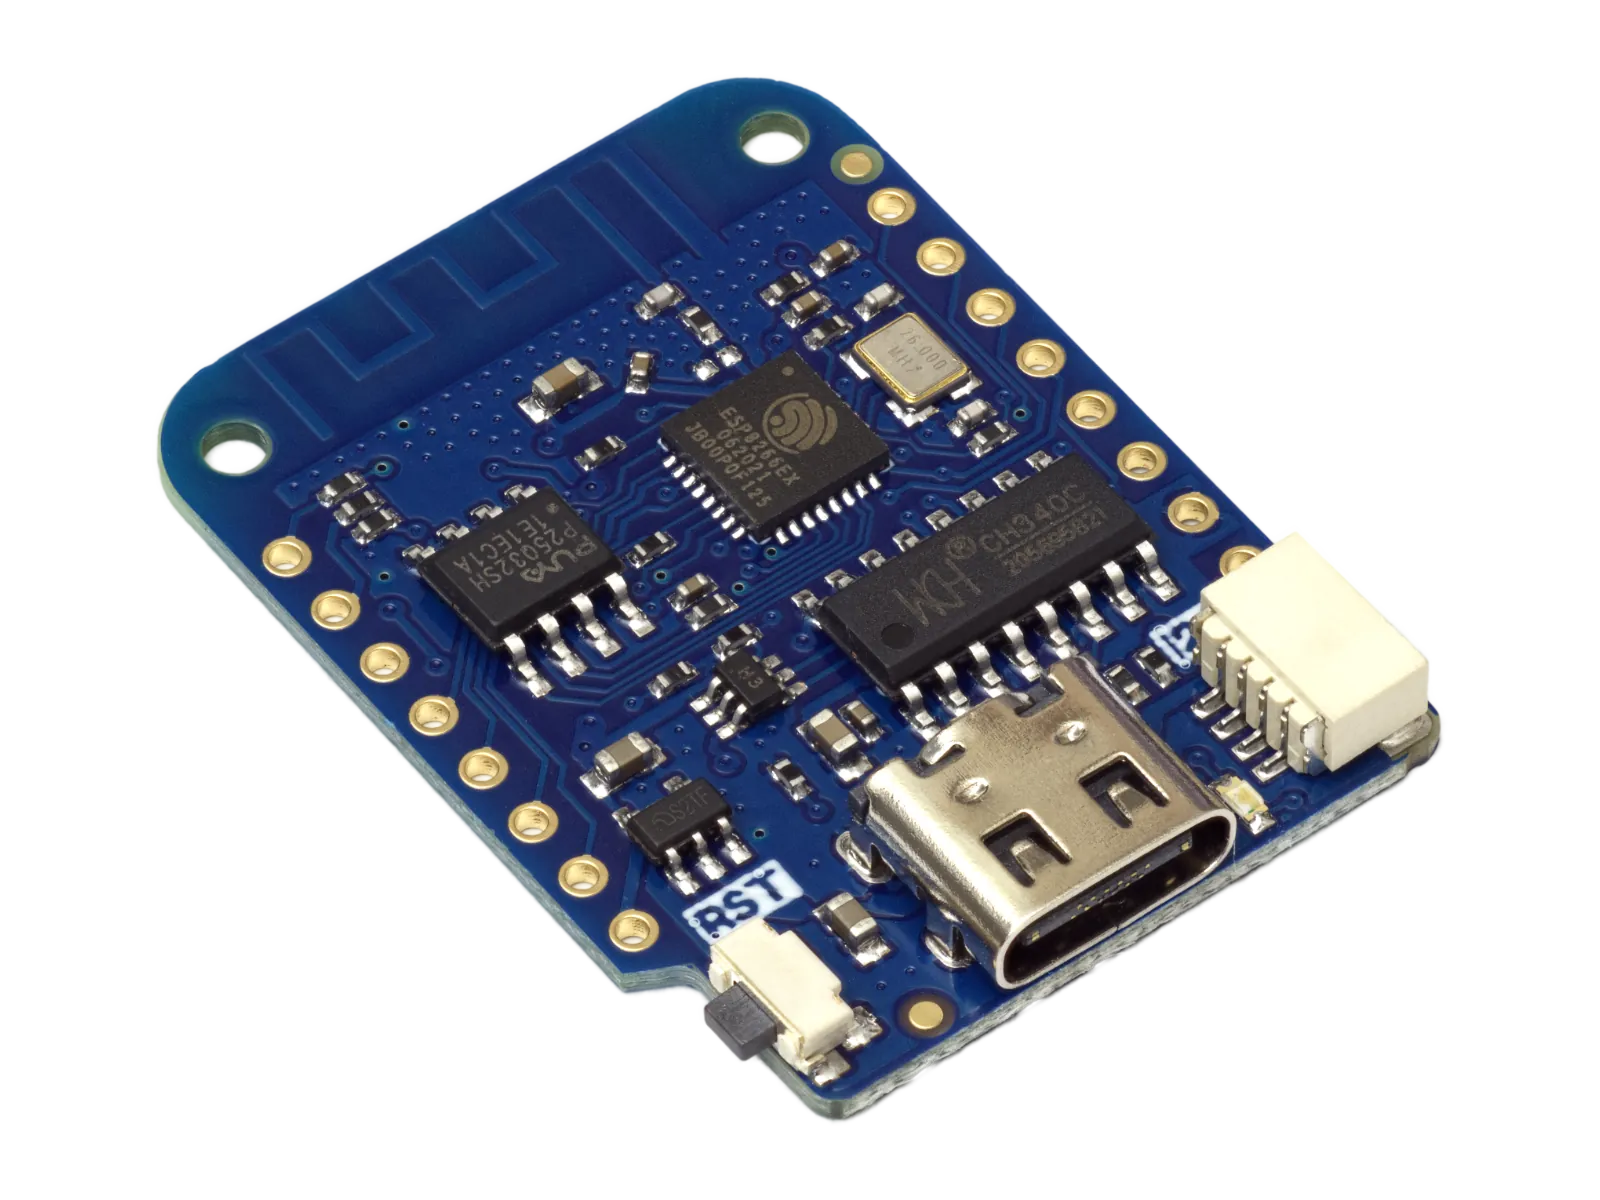 Wemos Lolin D1 mini
But talking USB with this thing? Thats not really an option. There might me a USB stack library for the ESP32 to bit-bang USB communication but why making it complicated when there is an easier solution: RS-232!
The Recommended Standard 232 (I had no idea that RS thats for this) is from the early 1960s and perfect for our use case because of its simplicity. It is just a serial communication over a unnecessary huge connector, and the ESP32 can talk serial!
BUT! RS232 uses voltage levels of up to +-15V and that would definitely kill our little ESP32. So I also had to order a RS232 to TTL converter (MAX3232) which handles those voltages for us and can work with the 3.3V voltage levels of the ESP32.
Because I want to smartify the printer itself without the need of an external device, I want to include the ESP32 board inside the printer. And also because I was curious, I opened the printer and had a look inside.
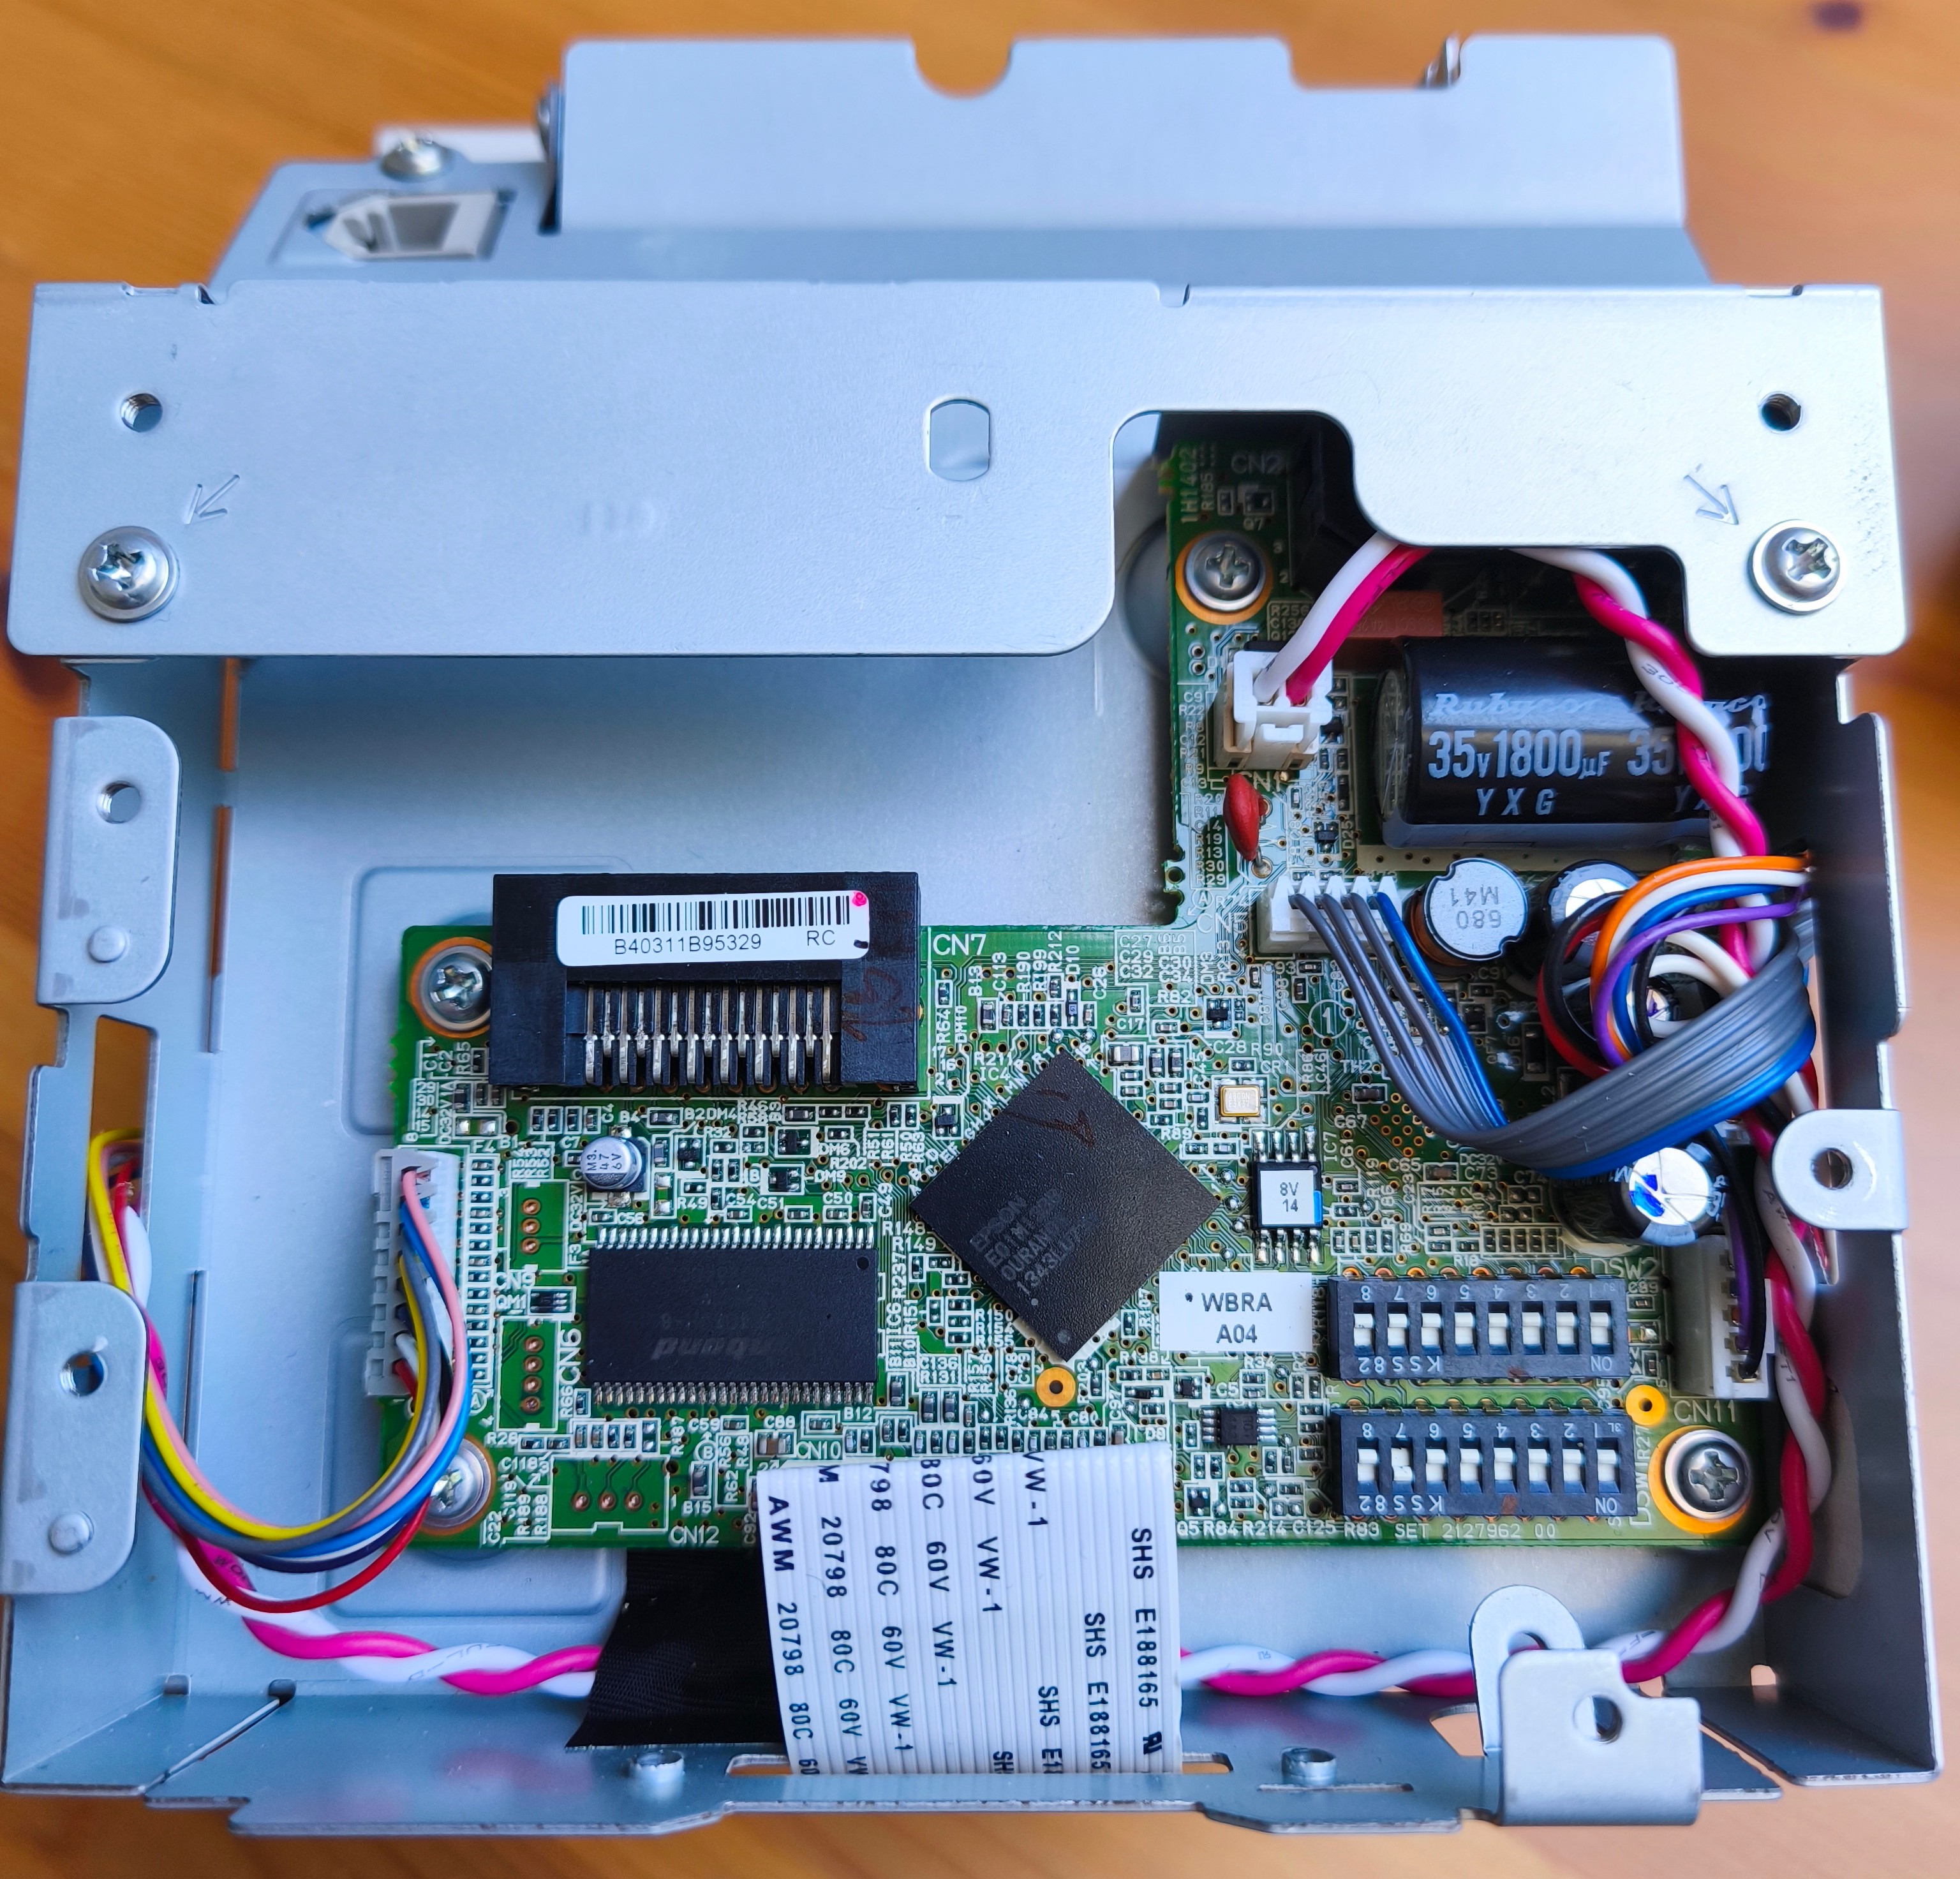 Opened printer
You see the empty space at the top left which that weird connector? Thats where the RS232 module was sitting. Yes, MODULE! This can be swapped for anything you want! But because I do want to use RS232 and the module was not that big, I decided to place the ESP32 board directly on the module and so I created this thing:
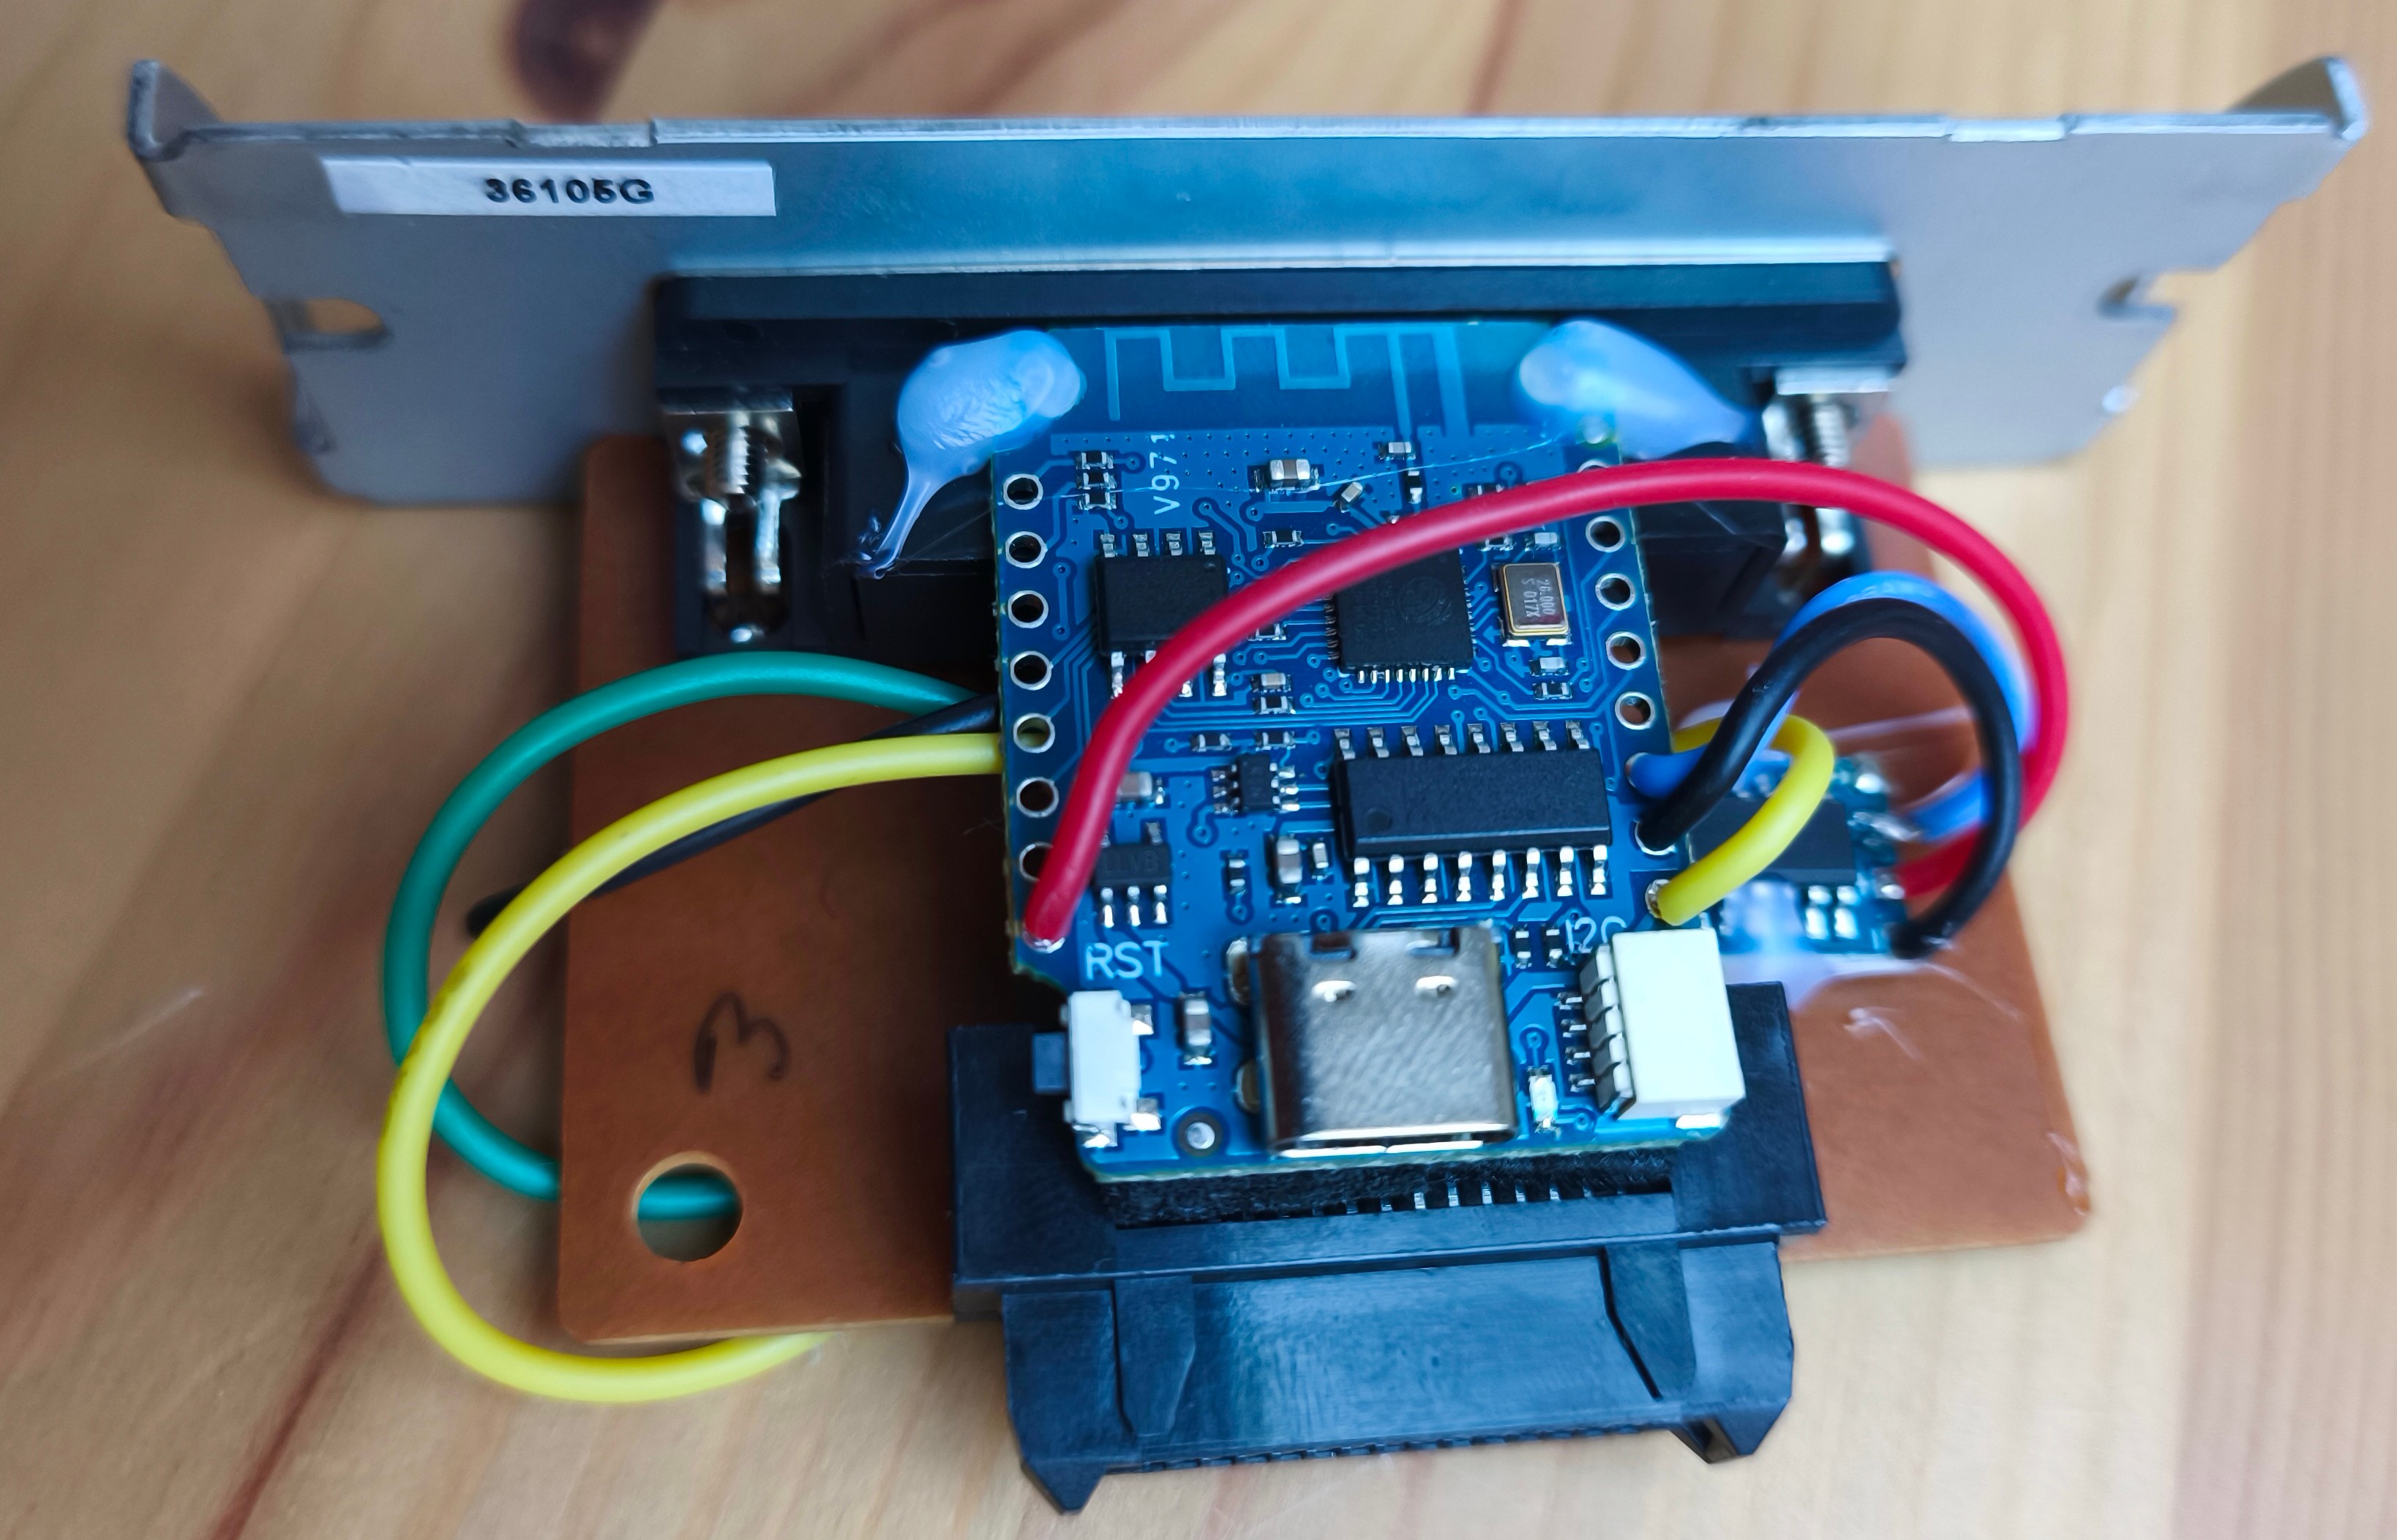 ESP32 board soldered to the RS232 module
Because RS232 is so simple, we do not need to make a lot of connections.
| ESP32 | EPSON TM-T88V | RS232 Converter |
|---|---|---|
| VBUS | 5V | |
| GPIO2 | TX | |
| 3.3V | 3.3V | |
| GND | GND | GND |
The ESP32 gets it’s power from a pin on the RS232 module, I just probed around to find 3.3V or 5V, because the board I used also supported a 5V input.
GPIO2 is connected to the TX pin of the RS232 converter and from the output of the converter to the RX pin of the RS232 connector. The converter also needs a 3.3V source and everything needs a ground connection. Have a look at the GitHub repo for better pictures of the wiring.
Thats it. In theory, we can talk over WiFi to the ESP32 and therefore the thermal printer!
Integrating in Home Assistant
Again, to keep the project simple, I wanted to use ESPHome. This is a really powerful Home Assistant Addon which allows you to define how Home Assistant can interact with an supported board (ESP32, ESP8266, RP2040, etc.) all by defining just a YAML file. Because all we need to do is send serial data to GPIO2, this is the perfect solution.
But what do we actually need to send to the printer for it to print? Have a look at these two amazing websites:
They exactly specify what commands you can send to the printer, everything nicely documented!
After reading through it and experimenting a bit, I came up with this ESPHome config. It creates a service called send_serial which accepts some string input. This is the text we want to print. The little script then converts our string from UTF-8 to CP1252, which is what the printer supports. Then, it sends 0x00 0x1B 0x40 0x00 to the printer. The 0x00 is required at the beginning and end, the interesting part is 0x1B 0x40. If you look at the ESCPOS documentation you can see that 0x1B is the escape character for commands and in combination with 0x40, its the command to initialize the printer!
After initialization, we can send the string byte by byte to the printer and it will just print the characters! To end our print, we send another command sequence to the printer: 0x00, 0x1D, 0x28, 0x4C, 0x02, 0x00, 0x30, 0x32, 0x1B, 0x4A, 0x00, 0x1D, 0x56, 0x41, 0x00.
| Bytes | Command |
|---|---|
0x1D 0x28 0x4C 0x02 0x00 0x32 | Print the graphics data in the print buffer |
0x1B 0x4A 0x00 | Print the data in the print buffer and feed 0 lines |
0x1D, 0x56, 0x41 | Feed paper and fully cuts the paper |
By now calling the service send_serial, we can print to the thermal printer from Home Assistant!
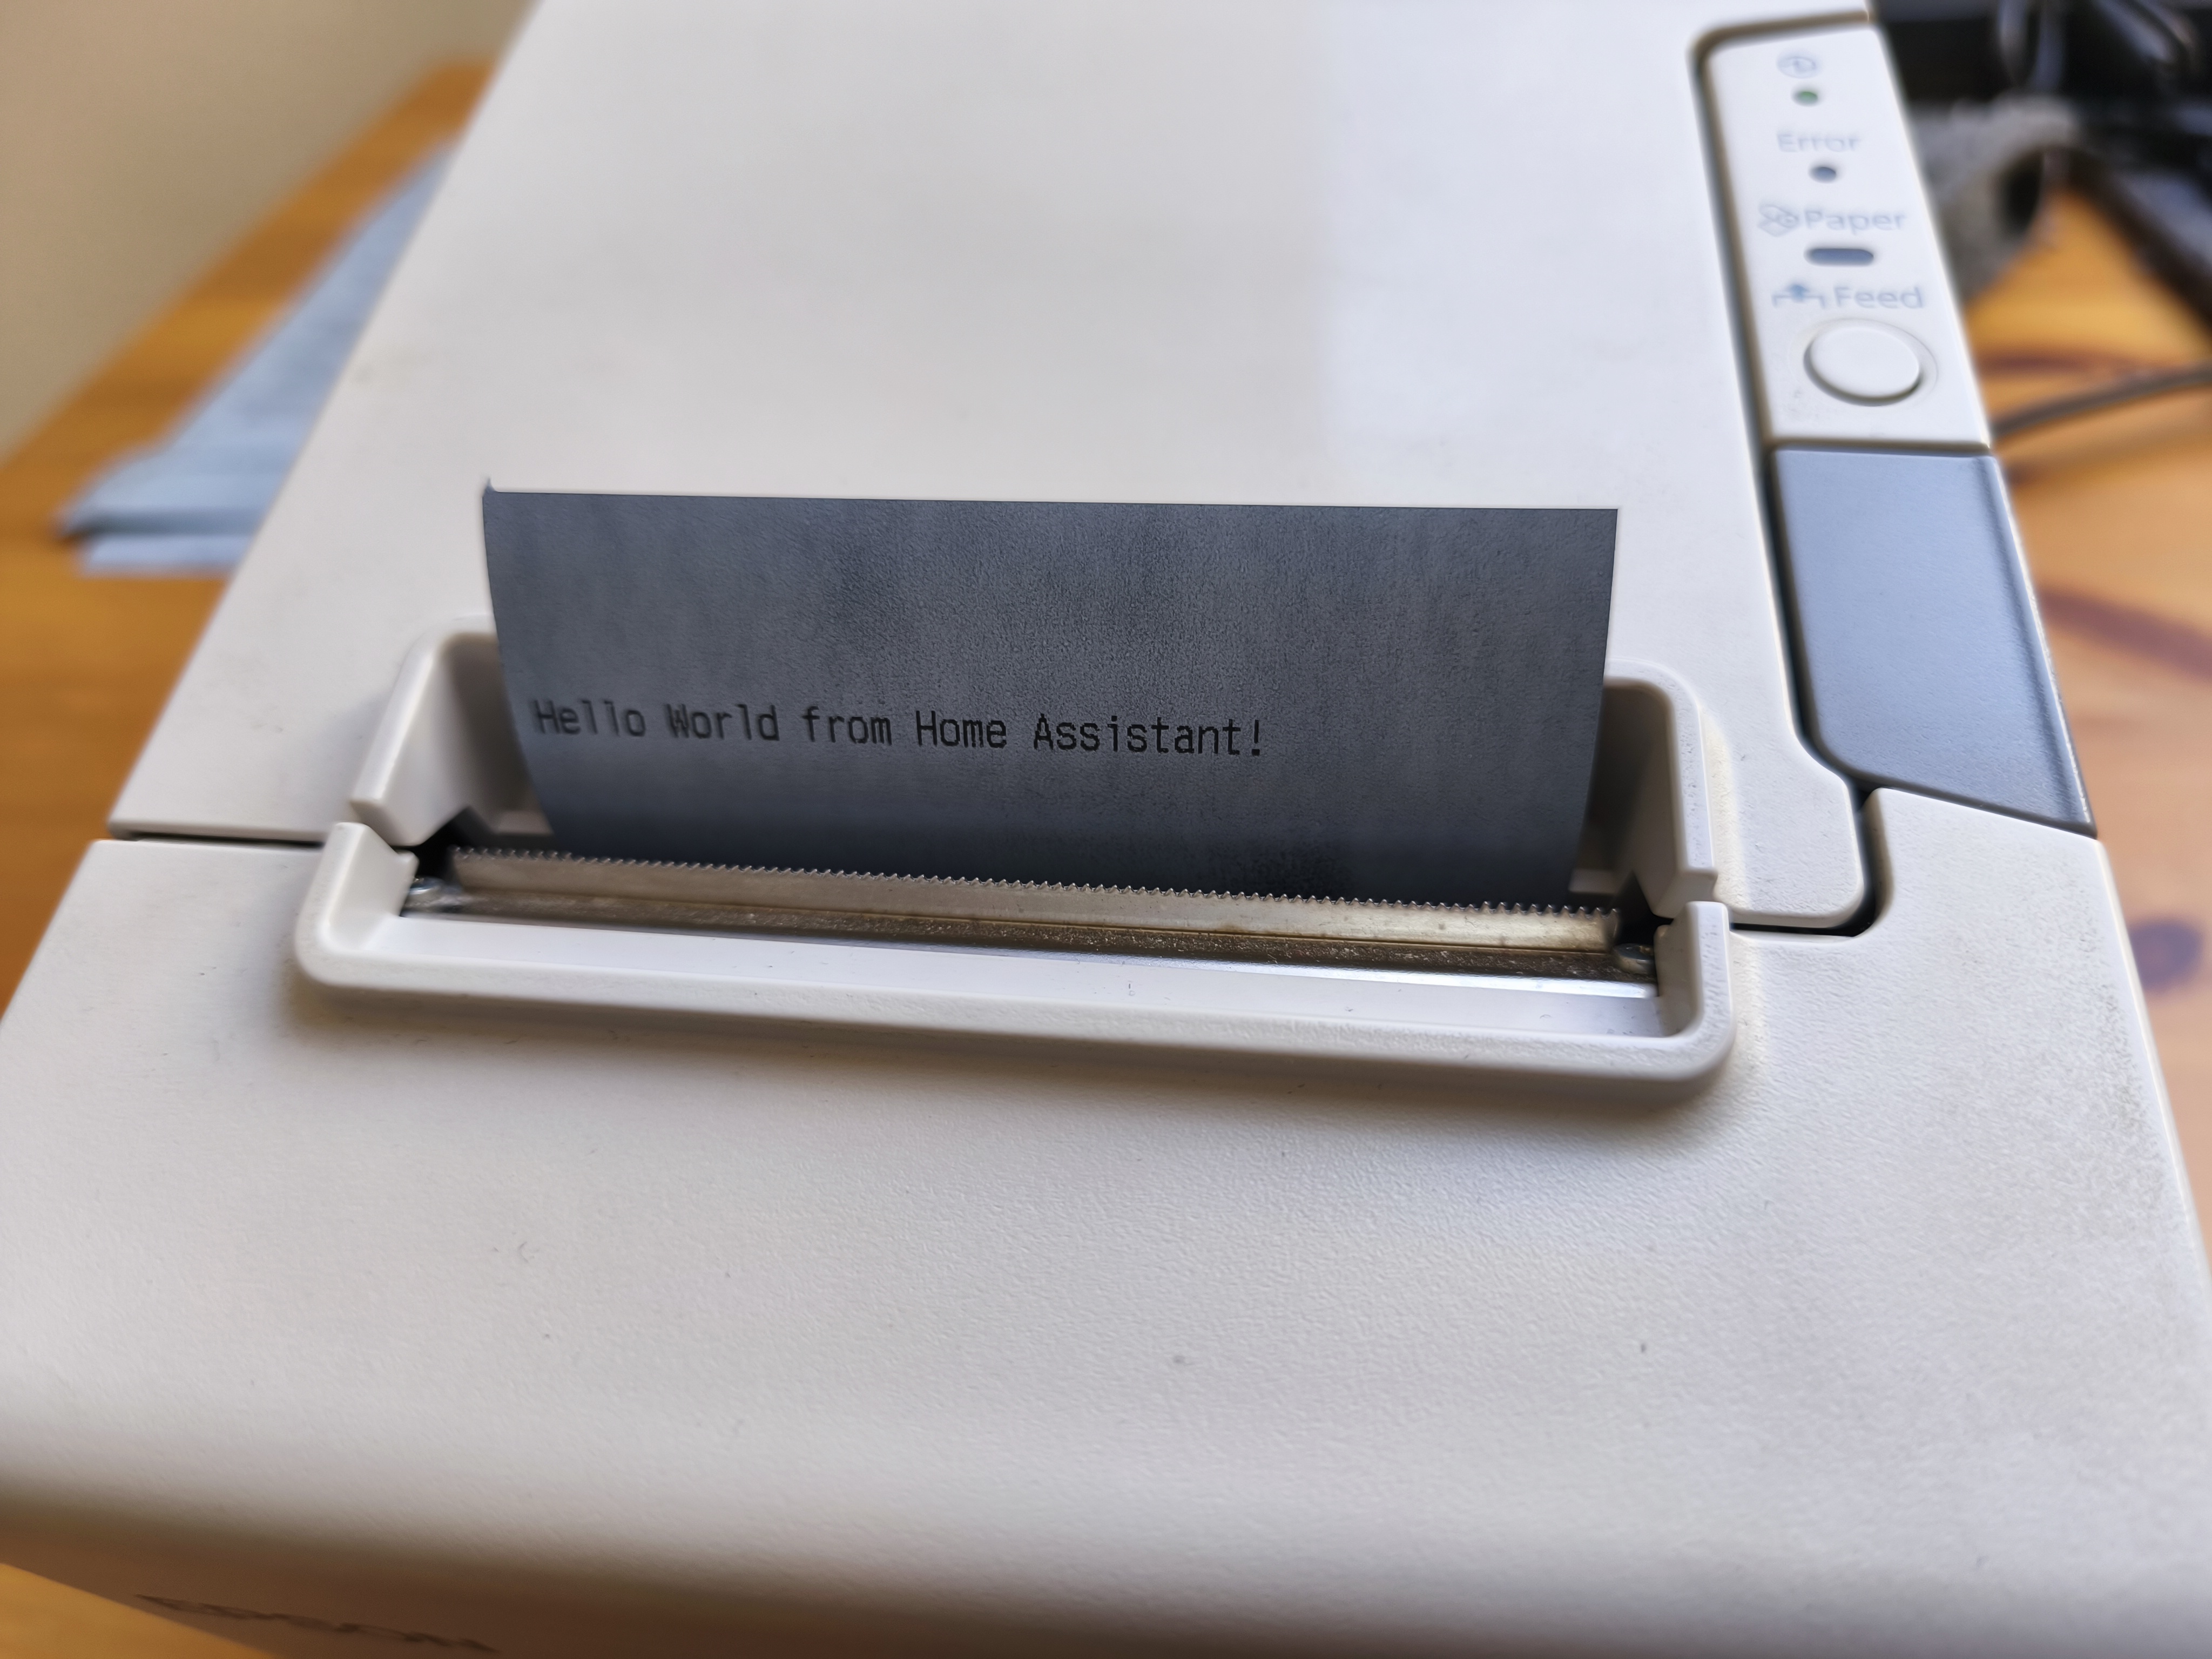 First print
And by querying weather, news and more, we can create ourselves a status report for the beginning of the day like the shown in the original reddit post:
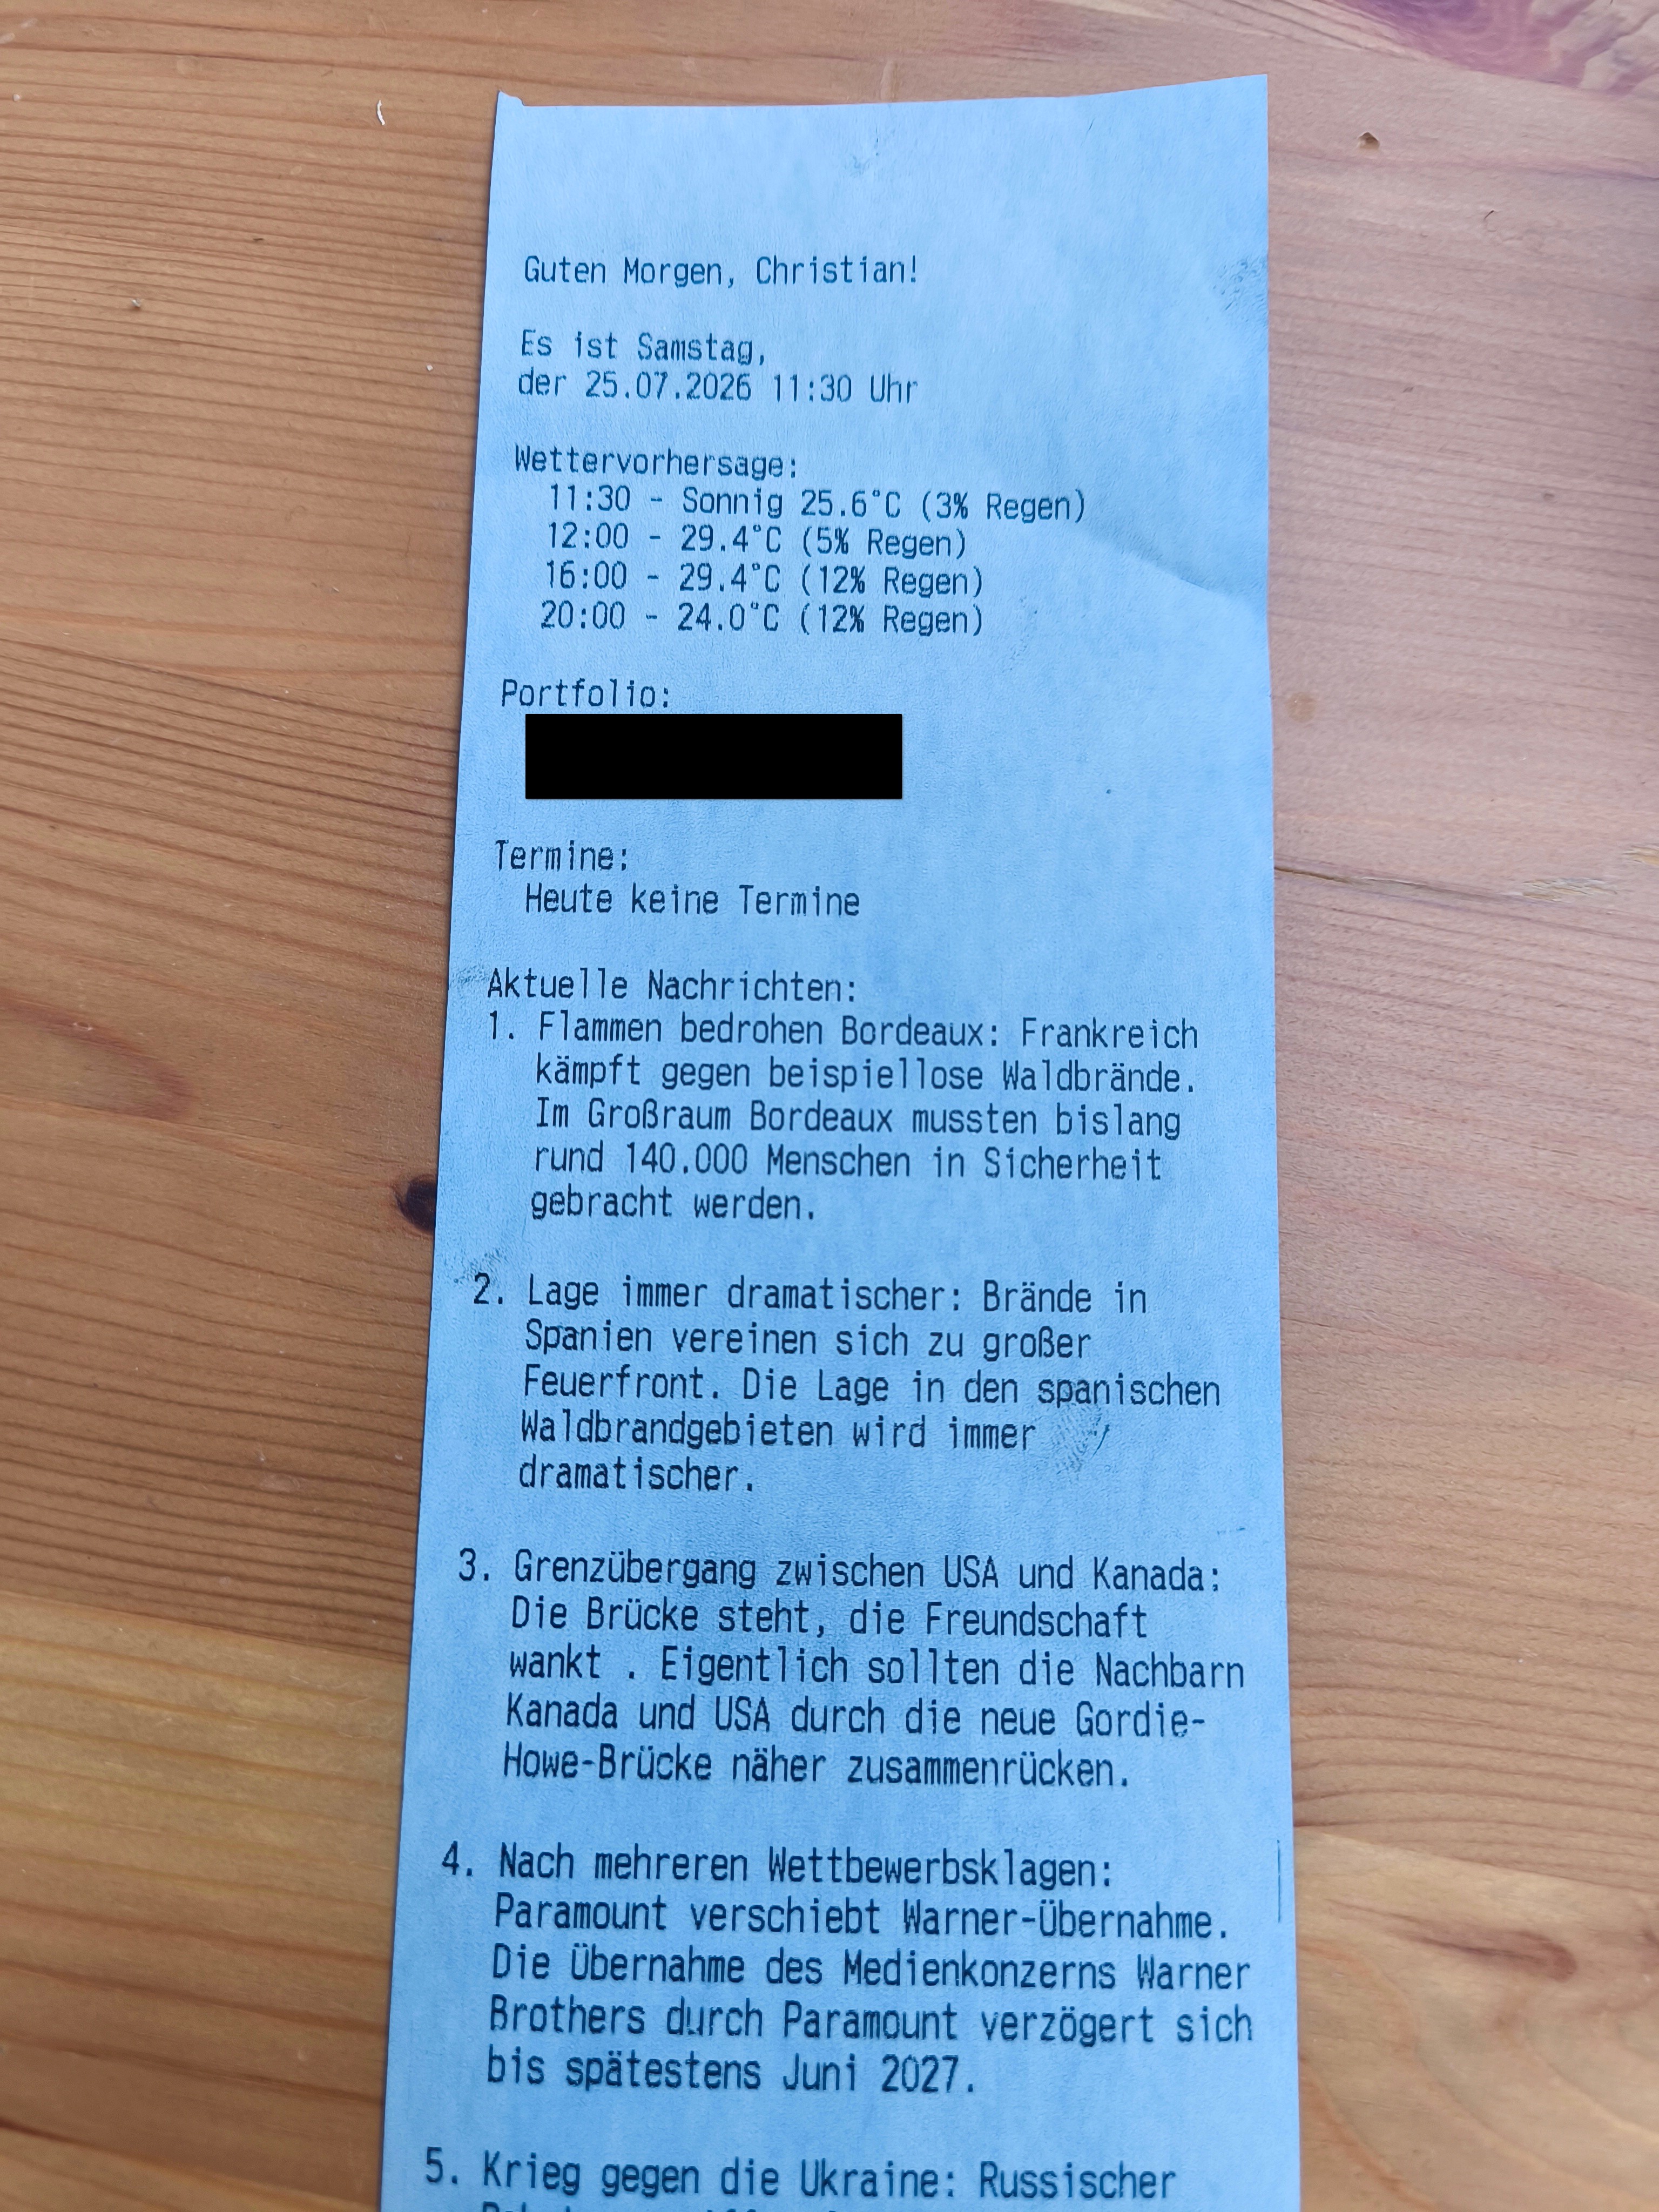 Status report in the morning
Final thoughts
First, I need to address the elephant in the room: Thermal paper. Generic thermal paper is basically toxic waste and really bad for the environment and potentially for you. If you recreate this, please use at least BPA-free thermal paper. BPA is a chemical that can be used for the thermal reactive coating of the paper and really bad for your health. To be even more environment friendly, I use special paper (that’s why its blue) which does use a different process to turn the paper black with heat instead of relying on harmful chemicals.
But nevertheless this was a really fun project and I learned way more than I could include in this post! Got any questions? Just leave a comment below.
See u next time!